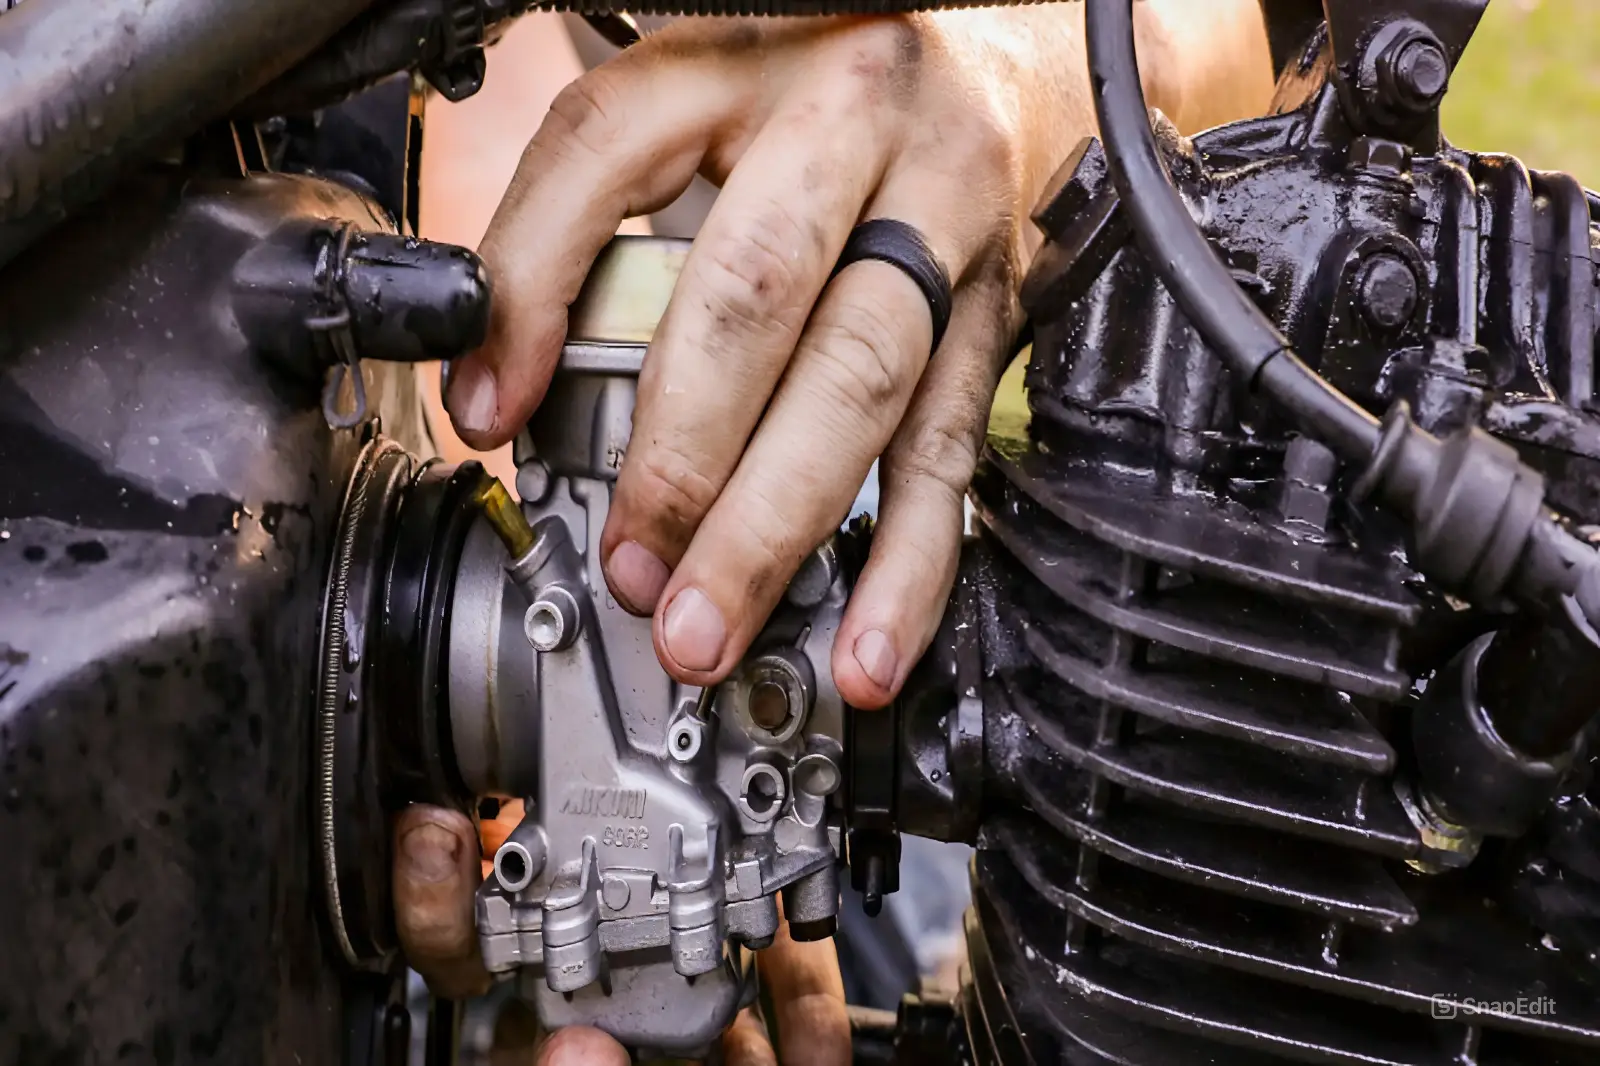
Pena Global – If you’ve ever wondered, “Can you repair a carburetor?”, the short answer is yes! In fact, carburetor repair is a task that many small engine enthusiasts and mechanics can handle, as long as the damage is not too severe. Repairing a carburetor involves assessing the damage, cleaning or replacing certain parts, and then reassembling the components. Whether you own a lawnmower, motorcycle, or any small engine-powered equipment, learning how to repair a carburetor can save you both time and money.
This step-by-step guide will walk you through the process of carburetor repair, providing helpful tips and insights to ensure your carburetor is running smoothly again. From understanding when to repair or replace a carburetor to learning the exact steps involved in the repair process, we’ve got you covered!
Table of Contents:
When to Repair or Replace a Carburetor
Knowing whether to repair a carburetor or replace it entirely can be tricky. Here’s when each option is best:
1. Repair
If the carburetor is dirty or has minor wear and tear, it can be repaired by cleaning or replacing a few parts. The accelerator pump, throttle shaft, and linkage are often areas that can be repaired without needing a full replacement.
2. Replace
If the carburetor is severely damaged—perhaps due to corrosion or broken components—it might be time for a replacement. A full replacement may also be necessary if the carburetor is beyond repair and causing major issues in your engine’s performance.
3. Rebuild
Sometimes, basic adjustments aren’t enough to solve carburetor issues. In these cases, you can rebuild the carburetor using a rebuild kit to restore its performance.
How to Repair a Carburetor
Repairing a carburetor might seem daunting at first, but with the right steps and tools, it’s an achievable task. Here’s a breakdown of the process:
1. Assess the Extent of the Damage
Before jumping into repairs, take a close look at the carburetor. If you notice significant cracks, corrosion, or broken parts, it may be time to replace the carburetor. For minor issues like clogging or dirt buildup, a simple repair will do the trick.
2. Learn Which Parts You’ll Need to Replace
Some common parts that may need replacement include the accelerator pump, throttle shaft, or carburetor gaskets. Identifying the damaged parts is crucial to the repair process.
3. How to Clean the Parts
Clean the carburetor using a specialized carburetor cleaner to remove dirt, debris, and fuel deposits. Be sure to thoroughly clean the jets, float, and all internal components to ensure proper fuel flow.
4. Reassemble the Parts
Once the parts are cleaned and any damaged components are replaced, carefully reassemble the carburetor. Take your time to ensure everything is in the right place and securely tightened.
5. Use a Carburetor Rebuild Kit

For a more comprehensive repair, consider using a carburetor rebuild kit. These kits often contain everything you need to restore the carburetor to like-new condition, including gaskets, seals, and other replacement parts.
6. Tools and Cleaner

You’ll need a carburetor cleaner, basic tools like screwdrivers and wrenches, and the rebuild kit (if necessary). Keep everything handy before you begin.
Safety Tips for Carburetor Repair
Before diving into any repair or rebuild, always remember these essential safety tips:
1. Read the Manual
Always refer to your engine’s manual before beginning the repair process. This will help you understand specific instructions for your model.
2. Handle Fuel with Care
Remember, fuel is highly flammable. Always work in a well-ventilated area and keep fuel away from open flames or sparks.
3. Wear Protective Gear
It’s important to wear gloves and safety goggles when handling cleaning agents or carburetor parts to avoid exposure to harmful chemicals.
How to Rebuild or Overhaul a Small Engine Carburetor
If your carburetor is beyond simple repair, consider rebuilding it. Here’s how to do it:
Step 1: Removing the Carburetor
Disconnect the carburetor from the engine. This involves removing the air cleaner and unbolting the carburetor from the intake manifold.
Step 2: Disassembling a Float-Type Carburetor
Once the carburetor is removed, carefully disassemble the float-type carburetor. Remove the float, needle, and jets to access all parts that may need cleaning or replacement.
Step 3: Inspecting the Carburetor
Inspect each part for wear and tear. Look for any cracks, rust, or blockages that may be affecting performance.
Step 4: Inspecting Air-Fuel Mixture Screws
Check the air-fuel mixture screws to ensure they are adjusted correctly. Incorrect settings can lead to poor engine performance.
Step 5: Reassembling the Carburetor
After cleaning or replacing any necessary parts, carefully reassemble the carburetor, ensuring that all seals are in place.
Step 6: Attaching the Carburetor & Air Cleaner Assembly
Once the carburetor is reassembled, attach it back to the engine and reinstall the air cleaner assembly. Test the engine to ensure it’s running smoothly.
Final Thoughts on Carburetor Repair
Can you repair a carburetor? Absolutely! By following the right steps and using the proper tools, you can restore your carburetor to working condition and avoid costly replacements. Whether you’re dealing with minor clogs or considering a full rebuild, the process doesn’t have to be intimidating.
Taking the time to learn how to repair a carburetor will not only save you money but also help you extend the life of your small engine equipment. Remember to always prioritize safety and consult your equipment’s manual for detailed instructions. **
